105 & 106
Part 1
Get Ready
 Students arrange their desks
row by row.
 Turn your desk and chair around.
 Join four tables together.
Part 2
Paint

Work together in groups
and share your things.

Each Group has four students.

Painting patterns, lines and dots.

Painting different shades of color.

One water pot per four students.

Learn to share water pots and paints.

Students take turns to
choose a new color.

Painting rainbows.
 Painting over wax designs.
 Painting over wax drawings.

Painting with sponges.
 Keep your sponges
on a piece of paper.

Dab the sponge on
your piece of paper.

Take turns to squeeze out the paint.

Work together and share the sponges.

One sponge one color.
 Be organised.
 Fill your painting
with color.

Use many colors.
 Afterwards let them dry.

Once your painting is dry
it is time to cut.

Before we start cutting we must get ready.
Choose one of your paintings.
Then prepare your scissors
pencil and eraser.
Part 1
Get Ready

row by row.


Part 2
Paint

Work together in groups
and share your things.

Each Group has four students.

Painting patterns, lines and dots.

Painting different shades of color.

One water pot per four students.

Learn to share water pots and paints.

Students take turns to
choose a new color.

Painting rainbows.


Painting with sponges.

on a piece of paper.

Dab the sponge on
your piece of paper.

Take turns to squeeze out the paint.

Work together and share the sponges.

One sponge one color.


with color.

Use many colors.

Part 3
Cutting

Once your painting is dry
it is time to cut.

Before we start cutting we must get ready.
Choose one of your paintings.
Then prepare your scissors
pencil and eraser.

Cut a long rectangular strip
out of a colorful part
of your painting.

Cut the long rectangular strip
into small rectangles,
squares and triangles.


A lot of triangles.

Many shapes.
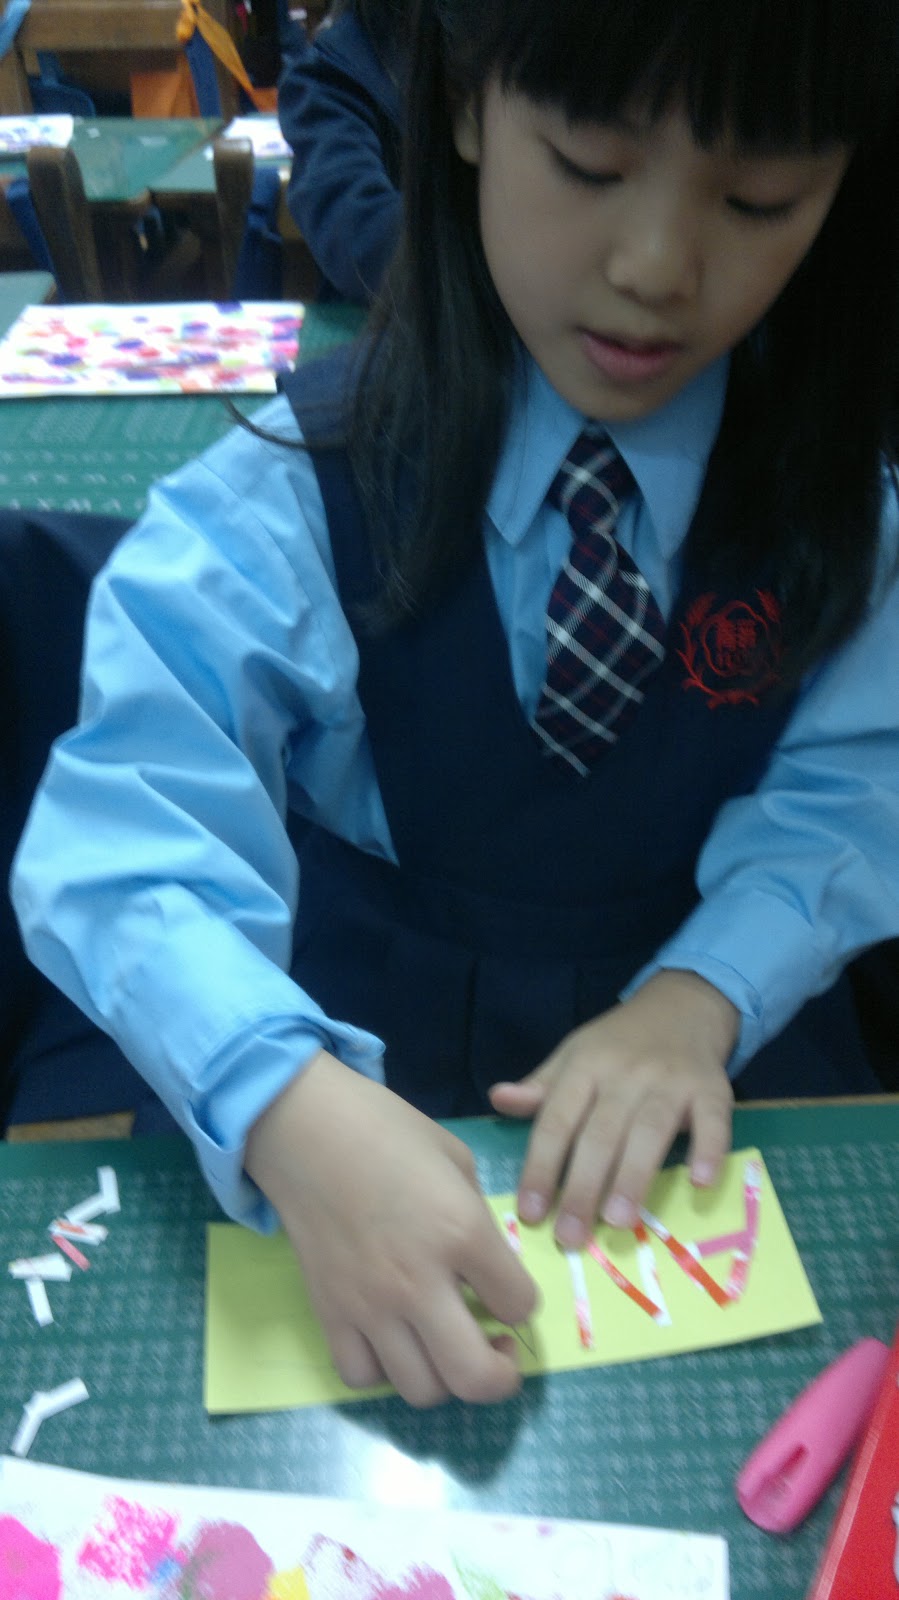
Part 4
Paste and Glue

Then one by one
stick the rectangles, squares
and triangles onto the card.

Keep going
until you have made
your name.


106
Do parts 1 2 3 & 4


After you have made your name
then make a picture
from your imagination.

First
cut your shapes.

circles

rectangles

triangles

Cut the shapes
you want.


Then glue
the shapes.

Rectangles, squares
and triangles can
make many things.


